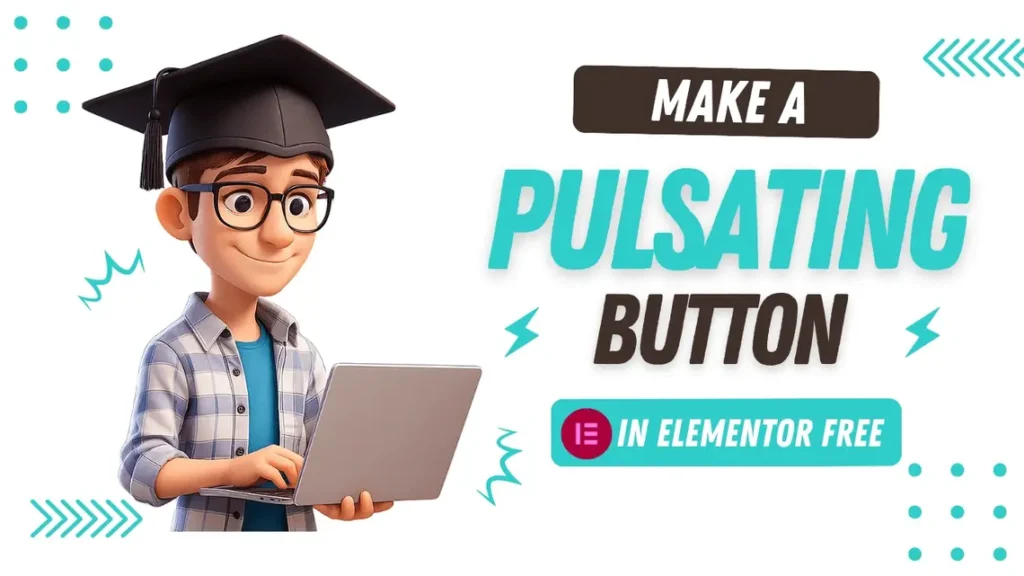
How to Create an Eye-Catching Pulsating Button in Elementor like this :
On a light background
On a dark background
Ever feel like your most important buttons get lost on the page? Whether it’s a “Buy Now,” “Sign Up,” or “Contact Us” button, you want it to grab your visitor’s attention. A simple, elegant way to do this is by adding a subtle pulsating animation.
This tutorial will show you how to easily add a clean, pulsing effect to any Elementor button using a small snippet of CSS. It’s a fantastic way to guide your users and increase your click-through rate without being distracting. Let’s get started!
Why Use a Pulsating Call-to-Action?
In web design, visual hierarchy is key. You need to tell your visitors what the most important action on a page is. A pulsating button does this perfectly:
- Draws Attention: The gentle “beating” motion naturally draws the human eye.
- Creates Urgency: The pulse can create a subtle sense of urgency or importance.
- Improves User Experience: It acts as a clear, interactive signal, telling the user “click here!”
- Looks Professional: It’s a modern animation effect that adds a touch of class to your design.
Step-by-Step: Adding the Pulsing Effect
Follow these simple steps to bring your button to life. All you need is the Elementor Button widget and access to its custom CSS field (available in Elementor Pro).
Step 1: Add and Style Your Button
First, drag a Button widget onto your page. Style it however you like—change the text, color, typography, and size to match your website’s design.
Step 2: Assign the CSS Class
With the Button widget selected, go to the Advanced tab in the Elementor editor. Find the field labeled CSS Classes and type in the following class name:
pulsing-button
This class will be used to tell our CSS code exactly which button to animate.
Step 3: Add the Custom CSS Code
Now it’s time for the magic! Add an HTML block from the editor, anywhere inside your page or post. (this will not be visible on the front-end). Copy the entire code block below and paste it into the html-block.
<style>
.pulsing-button .elementor-button {
  animation: pulse 2s infinite;
  box-shadow: 0 0 0 rgba(0, 123, 255, 0.4); /* Adjust the color here */
}

@keyframes pulse {
  0% {
    box-shadow: 0 0 0 0 rgba(0, 123, 255, 0.4);
  }
  70% {
    box-shadow: 0 0 0 20px rgba(0, 123, 255, 0);
  }
  100% {
    box-shadow: 0 0 0 0 rgba(0, 123, 255, 0);
  }
}
</style>
You should see your button start pulsating immediately in the Elementor editor!
How to Customize the Pulsing Effect
The best part about this code is that it’s incredibly easy to customize. Here’s how you can tweak it to perfectly fit your design.
The Color: The color of the pulse is set by the
rgba(0, 128, 0, 0.7)value. The first three numbers (0, 128, 0) are the RGB code for green. You can change this to any color you want. A great tip is to use the same color as your button for a seamless effect.The Speed: Want the pulse to be faster or slower? Change the
2s(2 seconds) value in the first part of the code (animation: pulse 2s infinite;). A smaller number like1.5swill be faster, while a larger number like3swill be slower.The Size: The size of the pulsing ring is controlled by the
20pxvalue in the70%section of the@keyframes. Make this number larger for a bigger pulse or smaller for a more subtle one.
Conclusion
And there you have it! With a simple CSS class and a small snippet of code, you’ve created a beautiful and effective animated call-to-action button. This small detail can make a big difference in guiding your users and making your website more dynamic and engaging.
Go ahead and try it on your key buttons—you’ll love the result!